About Me Tab tutorials Tab projects tab recipes parties buttons advertise feater
Welcome to my blog! If you are new here you may want to check out my projects, tutorials and follow along! Have a great day!

Showing posts with label garden. Show all posts

Monday, April 30, 2012

Protecting Your Plants- How Does Your Garden Grow?


Today is the last day of "How Does Your Garden Grow?". I hope you have found the posts so far informative. Today I am going to talk a little bit about protecting your plants once you get them in the garden. While sunshine, water and good soil are most important for helping your garden grow, plants do need some protection from outside threats.

Pests
Pests are one of the things that are difficult to keep away from your yummy new plants. Last year we had our biggest issue with deer. They ate all of our pepper plants and our beans. Talk about frustrating! So this year we had a plan. We built a 4 1/2 foot high fence out of cedar split rail. Then we put a welded wire fence on the inside of it to keep out the smaller critters. Then my husband put some natural deer deterrent around the perimeter of the garden. We haven't had problems with the deer jumping the fence so far, but if we do we may electrify the top portion of the fence.


Another pest problem are insects who like to eat on the leaves or fruit of plants. In the past years we have always used chemical pesticides, but this year we are trying to do more healthy options and switch to organic gardening. I have been doing a lot of research and found the website Organic Gardening pretty helpful. I am hopeful we will be able to control the pests with organic pesticides.


Cold and Weather
In the spring when your garden is just planted there is always the possibility of frost. We planted our tomatoes and peppers a little bit before the average frost date, just because my husband is a risk taker. There are a lot of different ways to protect your plants, but one of the easiest we have found is to save back the containers that your flowers, bushes and trees come in. They are already vented and are pretty easy to stack.  This spring we have had to put them out once because of frost and once because a hail storm was coming. If you use these, make sure you take them off the next day before the sun heats them up and fries your plant!!

They do also sell water filled cloches in the store for tomatoes and row covers can be used as well.

I wish you all the best of luck this year with your gardening and hope this series has inspired you!


*******************************
Don't miss any of the other posts from the gardening series- thanks for joining me!
How Does Your Garden Grow Button

"How Does Your Garden Grow?" Part 1- Stretching Potting Soil
"How Does Your Garden Grow?" Part 2- Stevie from Garden Therapy- Starting Veggie Seeds
"How Does Your Garden Grow?" Part 3- What To Grow?
"How Does Your Garden Grow?" Part 4- Annie from MamaDweeb Raised Garden Beds Vs. In Plot Garden

Saturday, April 28, 2012

Raised Bed Garden Vs. In Plot Garden


Today we are lucky to have Annie from Mama Dweeb sharing with us about her experience about in plot gardening vs. raised beds! Annie and I went to high school together and she has such an awesome blog!!

************************
Last year my husband and I tilled up a huge area on our land for an in plot garden.  We planted a huge variety of veggies - corn, radishes, tomatoes, peas, green beans, kohlrabi, potatoes and squash, just to name a few. 


We thought our biggest threat was going to be the deer. We did not anticipate the soil and weather being our biggest adversary!

In the end, we only harvested a ton of tomatoes, a handful of peas, a few ears of corn and lots of kohlrabi and radishes. 


This is why I think a raised bed garden is going to be better than our in-ground plot: 

1. Less back ache
If we raise the raised bed high enough, we shouldn't have to hurt our backs nearly as much when we are weeding. 

2. Control the size
It was way too easy to over-plant our garden when it was in the ground. With a raised bed, we only have so much room to use. This keeps the size manageable and prevents us from creating more work than we can handle. 

3. Easier to water
If we put our raised bed closer to the house it will be easier to water. Last year we had yards and yards of hose strung out and it was a huge pain to water my plants every day. This led to over and under watering. 

4. Looks nicer
You cannot deny that raised beds just have this aesthetic beauty about them that in ground plots do not. Ok, maybe you can deny it, but I sure love the look of a raised bed! And I don't mind having a raised bed garden close to my house. 

5. Easier to keep pests out
This part is totally my hopes!  I hope that by raising the garden higher off the ground, the fence will keep the critters off my food.  Our fence last year was way too flimsy and they just crawled underneath. Maybe the problem was the fence - in that case, I am going to invest in a nicer fence. 

Do you have any tips about raised bed gardening for me? Please share! 


About the author: 
Annie is a Kansas mom blogger. She started Mama Dweeb  when her son was a baby.  Now she writes about parenting, technology, fashion/beauty and helps new bloggers with her Blogging Basics series.  


***********************************
Don't miss out on the other posts in our beginner gardening series.
How Does Your Garden Grow Button

"How Does Your Garden Grow?" Part 1- Stretching Potting Soil
"How Does Your Garden Grow?" Part 2- Stevie from Garden Therapy- Starting Veggie Seeds
"How Does Your Garden Grow?" Part 3- What To Grow?
"How Does Your Garden Grow?" Part 5- Protecting Your Plants

Friday, April 27, 2012

Want to Start Gardening? What to Grow- Guest Post by Austin

I am so excited that my brother Austin agreed to contribute to this beginner gardening series.
He has been busy for the past several years turning my parents' acerage into a hobby farm! He has learned a lot about vegetable gardening and hopefully it will help you decide what to grow!
*****************************************

What To Grow?

Deciding what to grow in your vegetable garden can be tricky, especially when starting out.  A lot of it will depend on why you are wanting to start vegetable gardening, so your reasons and goals should be your main guide.

The first place to start in choosing what to grow in a garden should be what you like to eat.  I find it a lot easier to keep up with watering, weeding, and care of vegetables that I'm really looking forward to eating.

Certainly your tastes and situation should guide your decisions, but if you're struggling to decide, here are some recommendations and reasons to consider.

Grow a Staple

Tomatoes

Tomatoes are probably the #1 staple for home vegetable gardeners, and with good reason.  They are great used fresh or preserved, are fairly easy to grow, and can be very productive.

My personal preference with tomatoes leans toward preservation.  I love to have canned salsa, tomato soup, and diced tomatoes through the winter.

The first tomatoes I tried to grow were romas, but I didn't have much luck with them.  I had problems with fungus and rot on the tomatoes,which was probably because I had grown them along the ground without any support.  Processing the small roma fruits was time consuming, and I decided to make a change.

I've had a lot more luck with beefsteak tomatoes, and have switched to growing only that variety.  I grow them in tall cages with plenty of space for circulation and keep them well watered through the heat of summer, which has led to a bountiful harvest.


Good harvest of beefsteaks for processing.

Other garden staples to consider: Sweet Corn, Potatoes

Grow Something Easy
Garlic!

Garlic is very easy to grow, assuming you start it at the right time.  It takes a bit of weeding, but not much else.

The first time I grew garlic I planted it in the spring at the same time as onion sets.  That didn't do too well.  Afterward, I did someresearch and found that it was best to plant it in the fall, around the first frost date.  For the last 2 years I've done that, and it has been very successful.
My garlic patch today.

As a bonus, hardneck varieties produce scapes in the late spring, which are very delicious.  I planted my first hardneck garlic this last fall, so I'm very much looking forward to harvesting scapes in the next month or so.

My recommendation: mark your calendar for your first frost date, and plant some garlic.

Other Easy crops: Potatoes aren't much harder than garlic, I've found turnips to be quite easy also.  Some perennial herbs like mint are almost dangerously easy, and should be contained if grown.

Grow a Substitute
Lovage
I like using celery, especially in some canning recipes, but it won't grow here due to the heat.    This year I'm growing some lovage to try as a substitute for celery in my recipes.  I found it in a search for celery substitutes, and it seems like it should grow well for me.

Lovage may not work out great, but I'm very hopeful.  Finding alternatives that thrive in your growing conditions can be very rewarding. 

Other Substitutes: Swiss Chard and Amaranth can replace cooler weather greens for the hot summer months.  Coriander (Cilantro seeds) can begrown to provide a flavor similar to some tropical spices.

Grow Something Fast
Radishes!

Radishes are the fastest crop to grow in the garden, by a wide margin.  From seed to first harvest can be as short as 22 days!

I've grown radishes for a couple years, and find that it's important to have loose, non-compacted soil for them to grow in.  They really like to develop a long root from the part of the radish we're used to eating.
Radishes Harvested this morning.

I've also been harvesting and eating radish greens for the first time this year.  They are very good steamed and then topped with some vinegar or wilted in bacon grease.
Radish Greens from this morning.

Other fast crops: Nothing else is very close to the speed of radishes, but some things are still suitable for the impatient.  Spinach and Lettuce are fairly fast.  Once Summer hits, cucumbers can produce surprisingly fast as well.
***********************************
Thanks again Austin for the great information!
Don't miss the other parts of How Does Your Garden Grow?

How Does Your Garden Grow Button

"How Does Your Garden Grow?" Part 1- Stretching Potting Soil
"How Does Your Garden Grow?" Part 2- Stevie from Garden Therapy- Starting Veggie Seeds
"How Does Your Garden Grow?" Part 4- Annie from MamaDweeb Raised Garden Beds Vs. In Plot Garden
"How Does Your Garden Grow?" Part 5- Protecting Your Plants

Thursday, April 26, 2012

Starting Veggie Seeds: Root Vegetables and Heat-Lovers (Guest Post from Garden Therapy)

I am so excited to have Stevie from Garden Therapy here to talk about starting veggies from seed!
She has an amazing blog with so many inspiring and creative ideas for gardening.

****************
One of the most rewarding ways to grow your own vegetables is to start them from seed plus it’s a great educational experience for kids big and small.  Root veggies like carrots, beets and radishes do the best when planted directly in the soil where they will grow as they have a delicate taproot that doesn’t like to be moved.  Other garden edibles appreciate the helping hand of growing up a bit indoors before braving the elements.  Tomatoes, peppers, and eggplants are good examples of great seeds to start indoors.


 Planting Root Vegetables: Carrots, Beets, and Radishes


Plant root vegetables in fertile, well-drained soil that has been sifted to remove any stones or hard debris that will obstruct the root growth (and make funny shaped veggies).  Sow seeds according to the plant depth and spacing as recommended on the seed packet for each variety.  Carrot and radish seeds are quite small and beet seeds come in clusters, so it will be necessary to thin out your plants when they grow.  You can do this by cutting (not pulling) out the seedlings that are the weakest, leaving the strongest lots of room to grow a yummy root.  Keep seeds moist while they germinate. Once sprouted make sure they get lots of sun (8 hours/day) and water (don’t let them dry out on hot days).  As they grow they will push up their shoulders from the ground so mound soil around them periodically.  Plant root veggies in spring and summer for a fall harvest or plant over-wintering varieties in late summer for a winter harvest.


Planting Heat-Lovers: Tomatoes, Peppers, and Eggplants


Heat lovers like tomatoes, peppers, and eggplants like to be started indoors between 4-6 weeks before the last date of frost.  Starting seeds indoors gives them a jump-start on the growing season, and ensures that your plants will have lots of time to produce fruit before it gets chilly outside again. 


Start seeds in homemade newspaper pots set in a plastic nursery tray or even a plastic salad box.  Newspaper pots can be made by wrapping 5” strips of newspaper around a wooden pot maker or a household item like a glass or a can. Wrap the paper strip around the form leaving 1” of paper overhanging the bottom.  Crimp and fold the overhanging paper so that it tucks into itself and makes a pot that holds its shape when you remove the form.  Use a bit of tape to hold it if necessary. 


Fill each of the paper pots with seed starting mix, a light, disease-free soil mix made specifically for seed starting.  Don’t use garden soil that can have many fungi, bacteria and critters that can attack little seedlings. Plant each pot with 3 seeds, cover with soil, and water well.  Keep pots moist until seeds germinate and the little green sprouts come up.  Sadly you will have to choose only one strong seedling per pot to keep by cutting (not pulling) the others with clean scissors.  Keep your seedling in bright sunlight until it gets 2-3 true leaves (the plant will initially have 2 “seed” leaves which are rounded then grow the “true” leaves which look quite different), then transplant the whole pot, newspaper and all, into a larger plastic nursery pot filled with a container mix soil.  Grow your plant into a teenager in this pot and when kit’s warm enough (as determined on your seed packet) you can move it outside. 


These tips will hopefully have enough information to get you started keeping in mind that there are variances to different vegetables and climates that you can determine by visiting your local nursery.  Read seed packets for the most specific information on planting seeds and transplanting seedlings. 


For more information on seed starting check out Garden Therapy’s Seed Starting Series including Seed Starting 101, Homemade Seed Starting Containers DIY Projects,  The Best and Worst Store Bought Seed Starting Containers and Seed Starting Outdoors Under Umbrella Greenhouses.


Don’t forget to visit Stevie at Garden Therapy for more DIY garden projects, yummy recipes, and crafty goodness.  You can also find Garden Therapy on FacebookTwitterPinterest, and Etsy.


*******************
Thank you so much Stevie for sharing that information with us!!
Don't forget to check out the other posts in our "mini gardening series"!

How Does Your Garden Grow Button


"How Does Your Garden Grow?" Part 1- Stretching Potting Soil
"How Does Your Garden Grow?" Part 3- What To Grow?
"How Does Your Garden Grow?" Part 4- Annie from MamaDweeb Raised Garden Beds Vs. In Plot Garden
"How Does Your Garden Grow?" Part 5- Protecting Your Plants

Wednesday, April 25, 2012

Stretching Potting Soil- How Does Your Garden Grow?


Welcome to the first day of my beginner gardening series- "How Does Your Garden Grow?" I am very excited about the posts we have coming up in this series and I hope you find it helpful!

How Does Your Garden Grow Button

I am going to start the series out by talking about how to stretch your potting soil.

I love planting annual flowers every year- geraniums, petunias, impatients, and so many more. They do get a little costly though. And also potting soil can be a little expensive.

Here is a great way to stretch it.

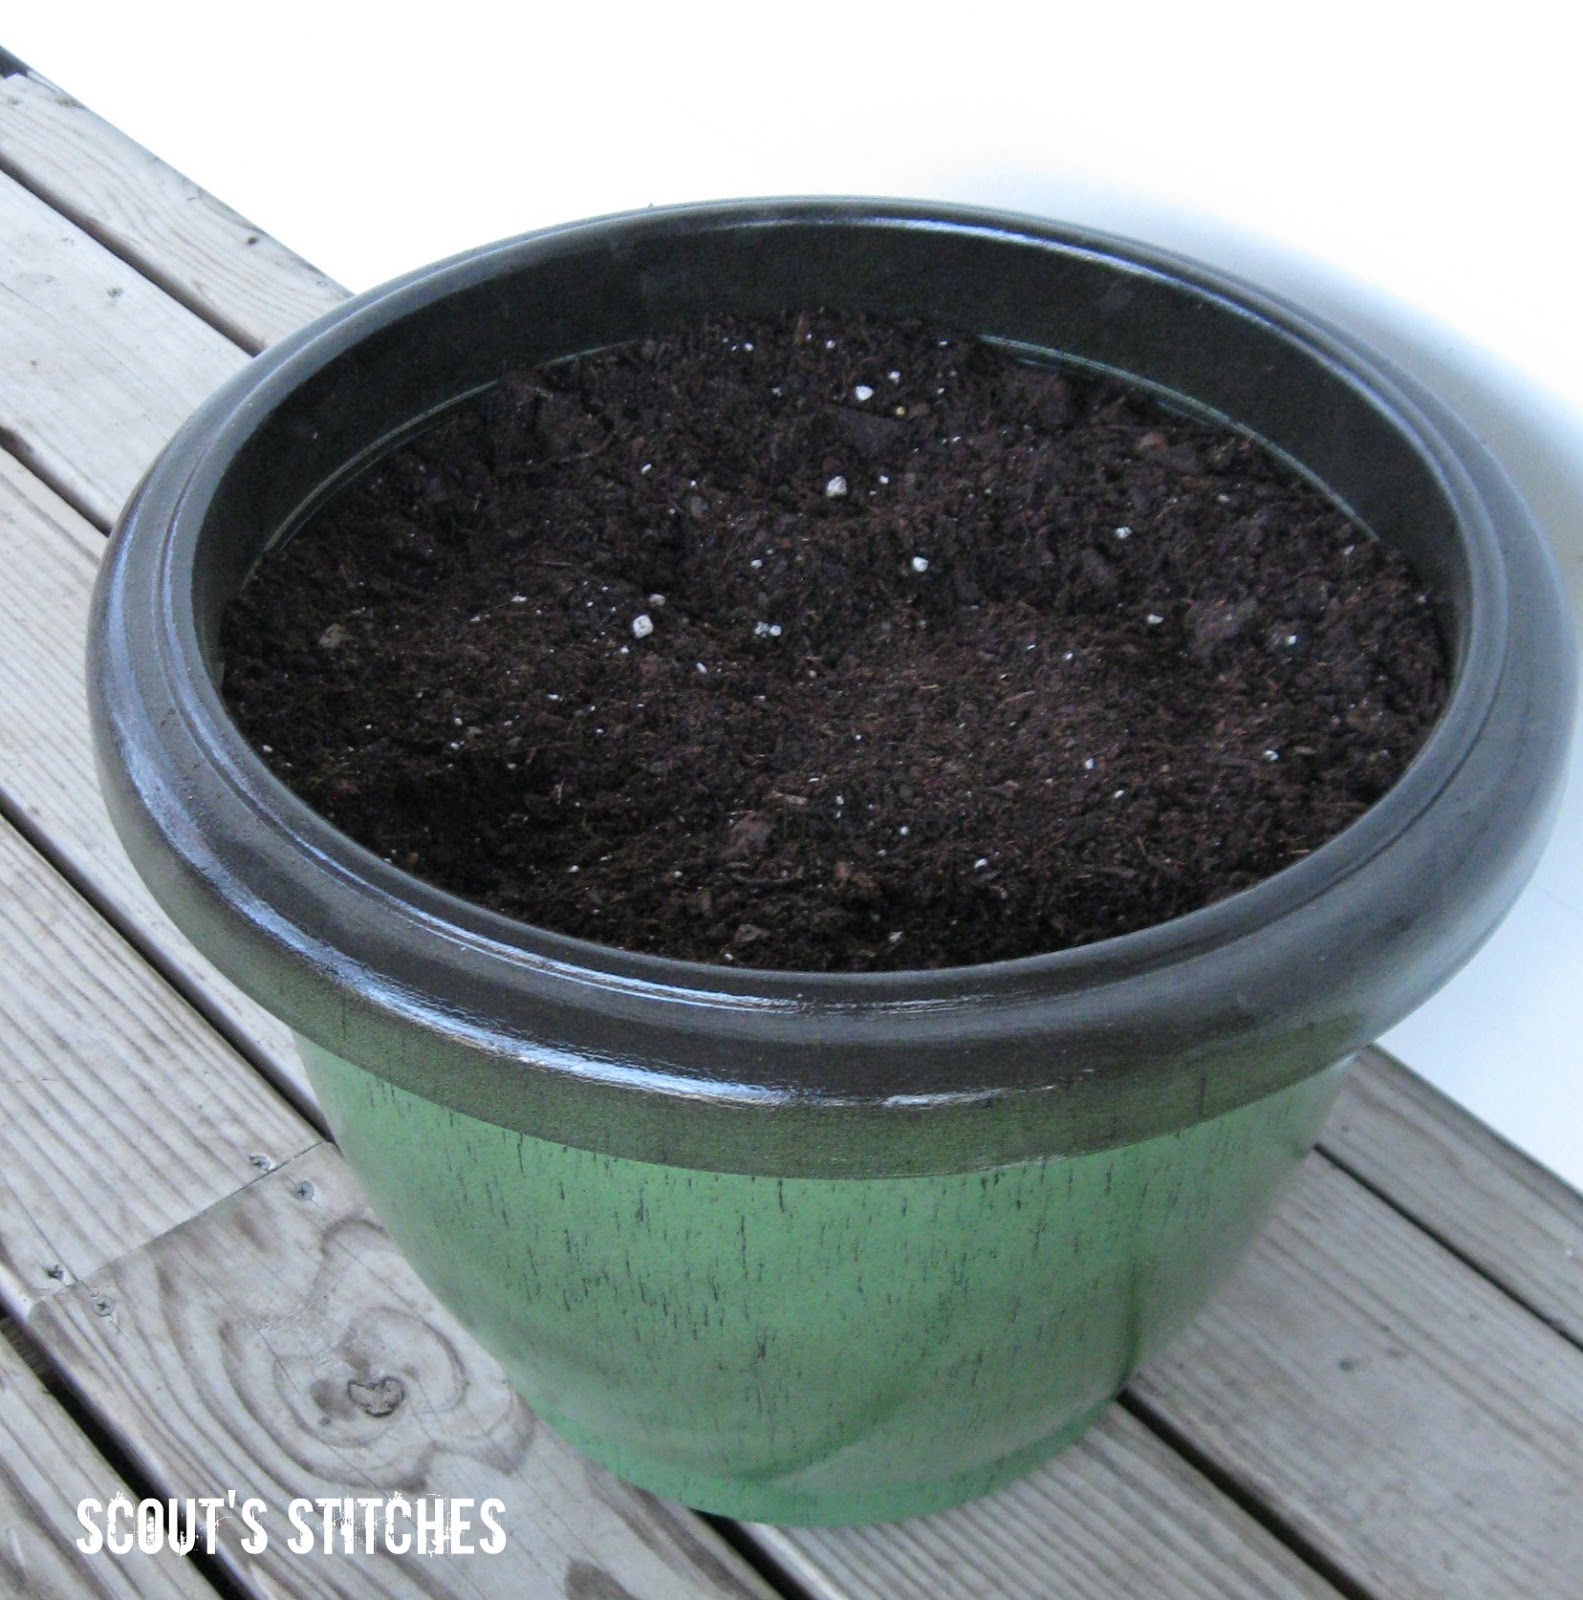
Take your pots or planters and fill them all the way up with organic materials such as grass clippings or leaves.


Add  potting soil to the top of it until it is about an inch from the top. The leaves will compress and there will be plenty of room to transplant your flowers.

I like to let mine sit for a couple days and add a bit more soil as it compacts.
Transplant your annual flowers and enjoy.


There are a few benefits to this process:
Spending less money on potting soil and more money on beautiful flowers!
It uses up organic matter that would just be hanging out behind my bushes (those darn leaves get everywhere).
And it makes the pots lighter and much easier to move into place.


How Does Your Garden Grow Button

I hope you found this helpful!
Don't miss other posts in this series!
"How Does Your Garden Grow?" Part 2- Stevie From Garden Therapy- Planting from Seed
"How Does Your Garden Grow?" Part 3- What To Grow?
"How Does Your Garden Grow?" Part 4- Annie from MamaDweeb Raised Garden Beds Vs. In Plot Garden
"How Does Your Garden Grow?" Part 5- Protecting Your Plants


Thanks for stopping by!
I will be linking to some of these parties!
Signature 2

Wednesday, March 28, 2012

Early Spring Flower Garden Tour

Spring is one of the best times of the year. It has been especially wonderful this year because this is the first spring in our new house.

 (See where the dogs were running through the corner of the beds- hopefully the hostas come back eventually.)

 (Bubbles enjoying the thick grass!)

(Bugleweed and purple tulips)

When we moved in there was not a lot of landscaping done to the house. There were railroad ties out front with small flower gardens.  But there weren't any flowers that came up in the garden last summer!

(Bugleweed)

One of the first things my husband did when we moved in was tear out the old beds and get to work putting in limestone lined flower garden beds! They look so beautiful and really make the house pop.


Late last summer we bought a lot of plants on clearance and filled up the beds- they are not nearly as full as we want them, but we have plenty of time!!

(Pink Columbine)

We also added bulbs last fall and planted a few more perennials this spring.

(Pretty white tulips)

Every morning it is exciting to see what new flowers are blooming! We have so much more work to do to make this garden everything we want it to be- but I am certainly enjoying the process.

(Daffodils and Bugleweed- this bed needs some more plants and mulch!!)

Have a great day and I hoped you enjoyed seeing my early spring garden!

I will be linking up with some of these parties!
shabby creek cottage
UndertheTableandDreaming
Skip To My Lou
Here Comes the Sun
Signature 2

Tuesday, February 21, 2012

Tuesday 10- How to Prepare for Your Garden Right Now!

Last summer our garden was kind of a bummer. We moved in May to our new house and so we were a little late getting the garden established. Also when you move in to a new house there is soo much to do and gardening usually isn't first priority.

This year I am wanting to have our garden be the best it ever has. We have a lot more space at the new house to garden in and I am getting itchy for it to be spring and get started growing some yummy food.

We did quite a bit of prep work last fall (or I should say my husband did). He tilled up the garden area, did landscaping for the flower gardens and planted bulbs. Now I am wanting to work on getting the vegetable garden ready.


Here are some ideas for things to do right now to make this year your best garden ever!

1. Composting- This can be done year round and is helpful for making your soil rich in nutrients. It also reduces the amount of waste that is put into landfills each year. I have done some composting in the past, but I am making a commitment to compost all of my organic waste. Here is a link to the EPA's Basics about Composting.

2. Planting Seeds Inside- Planting seeds inside can give you a head start on the growing season and save some money. This does require sunny areas inside and a place to keep your seedlings though. See this website for info on when to plant inside.

3. Buying or building birdhouses- Bird houses around the garden are a great thing- the birds eat pesky bugs and are also really pretty to look at. I want to build some rustic birdhouses to place on our garden fence. Cozy Little House blog has some pretty pictures for inspiration from her neighbor's garden.


4. Hardscaping- Now is the time to get your hardscaping done! Get it done before the planting season starts. Here are some ideas for hardscaping to make your garden really shine-


  • Raised Garden Beds- Can help with drainage and save time from not having to till as much. Here is a link for a how-to. 
  • Container Gardens- Plants such as tomatoes, strawberries and spinach do well growing in containers and can be grown even if you don't have a lot of space for a garden. These can also add interest to your landscaping. Here is an amazing container gardening inspiration post at A Life's Design.


5. Make a Planting Schedule- Planting at the right time is crucial in having a good harvest. We bought a book this year (on clearance!) that gives you a week by week planting schedule and garden preparation schedule based on your last freeze date.  For those of you who aren't sure when to plant this website you can enter your zip code and it will give you a week by week of when to plant different vegetables. It also tells you when to start seedlings indoors if you are going that route. It is free to get the planting schedule but there is the option to order seeds from them too.

6. Collecting Recipes- Start collecting recipes for the foods you are going to grow. I have a few basic recipes that I use for canning and for freezing but I am always looking for more. I will be posting some of my favorite canning recipes this spring. Good things to keep in mind while looking for recipes is the method of preparation you are going to use, what crops you are going to grow and the foods your family eats the most. Here is some really good basics from the USDA's Guide for Food Preservation.


7. Soil Testing- Soil testing is a good way to make sure that your soil is the right pH to grow plants effectively. Most of the time your local or county extension agency can perform a pH test on your soil for a small fee. If the pH is off they also give suggestions on how to correct it. Getting your pH right can be the difference between a great crop and a lousy year in your garden.

8. Plant Cool Weather Plants- It may seem hard to believe but some cool weather plants such as green onions and peas can be planted as early as the first week of March depending on your location. Getting these plants in right on time can make sure they have plenty of time to produce before it gets too hot. See above planting schedule link to find the right date in your area.

9. Organic Pesticides- Organic pesticides are a great way to get the maximum production out of your plants without having to deal with harmful chemical pesticides. Wake Up World has a list of organic pesticide methods. One of the recipes I found intriguing was collecting onion peels and then letting the steep in water to make an organic pesticide spray. Looks like I am collecting all of my onion scraps from now on!


10. Build a Cold box- Cold boxes are basically mini-greenhouses that you can build to make your planting season a little bit longer. Here is a great link to a DIY Cold Box. I think this is a great idea if you don't have the sunny space in your house for seedlings but you want to start them earlier than just planting outside. I don't know if I will try it this year, but definitely next year!


I hope that some of these tips will be helpful for you. I plan to do pretty frequent updates of my garden progress once we get started planting!

I will be linking up with some of These Parties!
Thanks for stopping by!
Signature 2

Monday, August 15, 2011

Making Moss- Hopefully!

So I saw this the other day on Pinterest and I mentioned it to my husband. He thought it was a good idea and wanted to try it.


We have been working on the "hardscaping" for our front yard landscaping. We have a few rocks with moss, but most of them don't have it. So here is the basic recipe.


One can of cheap beer- or 1 1/2 cup buttermilk. We used the beer.


About 3 handfuls of moss- we took some from the rocks and the ground.


1 tsp. sugar

Mix it all together in a blender until you have a paste. 


My husband would not let me put moss in our blender so we just stirred it up. I am pretty sure it is not going to work like the recipe intended, but we will see.


Then paint it on the rocks- it is most definitely not a paste. And the dogs kept licking the rocks- they are kind of alcoholics.

The directions say to mist it every day until it starts to grow on its own.

I will let you know if it turns out like this- I may try again to make a paste if this doesn't do anything.


Here is a sneak peak at what half of the front garden will look like- still have some rearranging to do- and of course filling it with plants!!

Thanks for stopping by!!

Signature 2
Related Posts Plugin for WordPress, Blogger...